Even the most precisely engineered heating element will fail in minutes if installed incorrectly.
In the world of flexible heaters, the enemy is invisible: Air. Silicone rubber is a thermal insulator (0.22W/m⋅K) relative to metals. If a microscopic “Air Pocket” exists between the heater and your component, the heat energy cannot transfer. Instead, it “backs up” into the heater, creating a localized hot spot that rapidly exceeds the silicone’s breakdown temperature (260∘C).
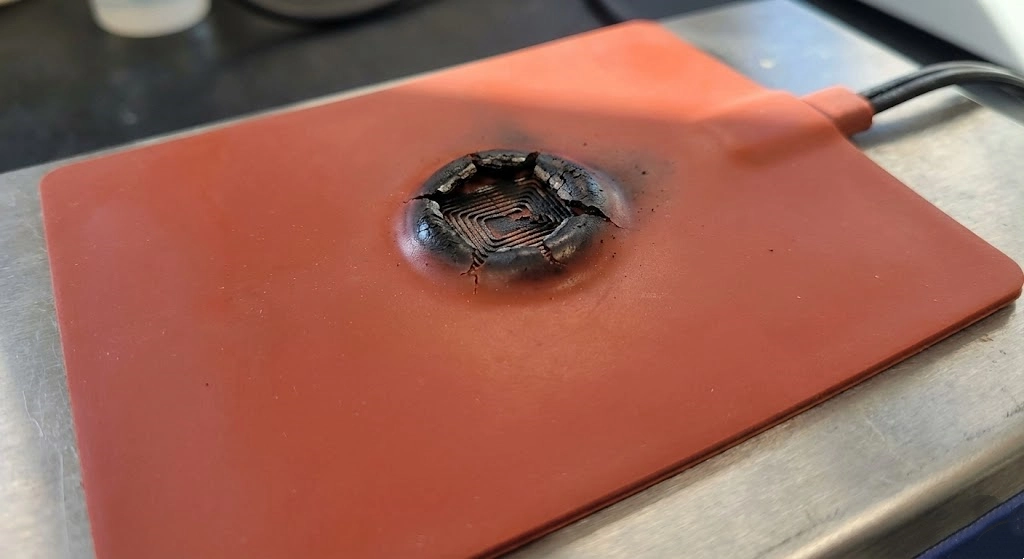
The result? Bubbling, carbonization, and catastrophic burnout.
Engineers often struggle with the mounting decision: “Is 3M tape enough? Or do I need to ship my parts to the factory for vulcanization?”
This guide is the HT-Heater Standard Operating Procedure (SOP) for heater installation. We will analyze the thermal limits of Pressure Sensitive Adhesives (PSA), explain the physics of Factory Vulcanization, and detail mechanical solutions for removable maintenance jackets.
The “Bubble of Death.” This failure was caused by a trapped air gap preventing heat transfer, not by a defect in the wire.
1. The Physics of the Interface: Why 100% Contact Matters
To understand mounting, you must understand Thermal Resistance (Rth). Your goal is to minimize Rth between the source (Heater) and the sink (Your Part).
Poor Contact (Air Gap): Air is a terrible conductor. The heater must run at 200∘C just to push the part to 50∘C. This DeltaT destroys the adhesive and the silicone.
The Golden Rule: Surface preparation is 80% of the job. Before applying any heater, the surface must be free of grease, oil, rust, and dust. We recommend a wipe-down with Isopropyl Alcohol (IPA).
2. Option A: Pressure Sensitive Adhesive (PSA) – The Industry Standard
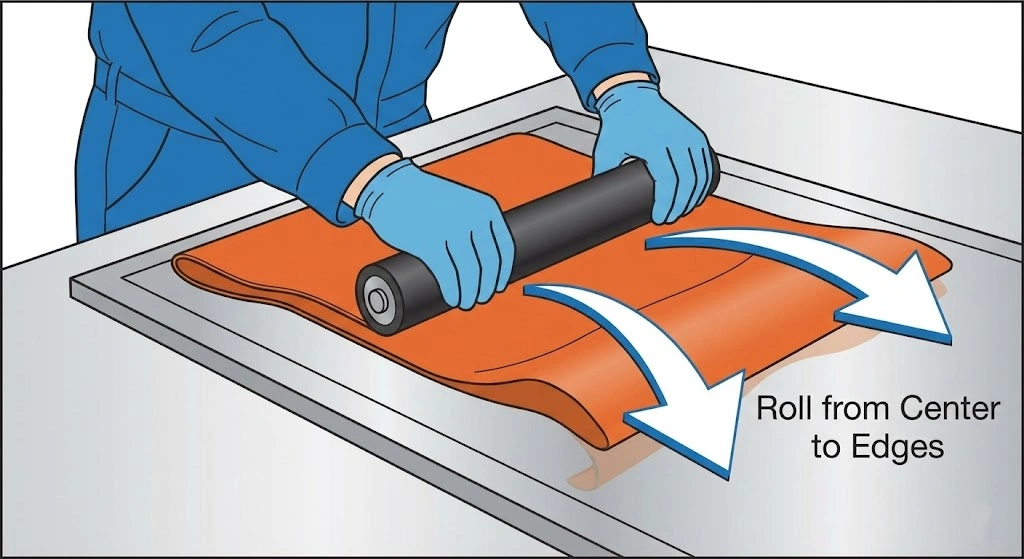
Do not just press with your thumb. Use a hard rubber roller to evacuate air channels.
For 90% of applications, 3M™ High Performance Acrylic Adhesives are the preferred solution. They are fast, clean, and provide uniform thickness.
3M 467MP vs. 3M 468MP
467MP (2 mil / 0.05mm): The choice for smooth, polished surfaces (Glass, Polished Aluminum). Its thin profile offers the lowest thermal resistance.
468MP (5 mil / 0.13mm): The choice for textured surfaces (Powder Coat, Machined Steel). The thicker adhesive layer flows into the “valleys” of the texture to create a full bond.
The “Roller” Installation Technique
Clean: Degrease the substrate.
Peel: Remove the liner.
Touch Down: Lightly position one edge.
Roll: Using a Hard Rubber Roller, apply heavy pressure from the center outwards. This squeezes air bubbles out to the edges.
Cure:Wait 72 Hours. The bond strength is only 50% immediately after application. It needs time to “wet out” and reach 100% strength. Do not power up immediately.
The Thermal Red Line
Limit:149°C (300°F) Continuous. If your application runs hotter than this, the acrylic chemistry will degrade, turn brittle, and the heater will delaminate.
3. Option B: Factory Vulcanization – The Ultimate Bond
For high-precision or high-temperature applications, we recommend Factory Vulcanization. This is not “gluing”; it is a chemical fusion process.
The Process
You send your metal parts (Aluminum plates, Steel tanks) to the HT-Heater factory.
We apply a primer to your metal.
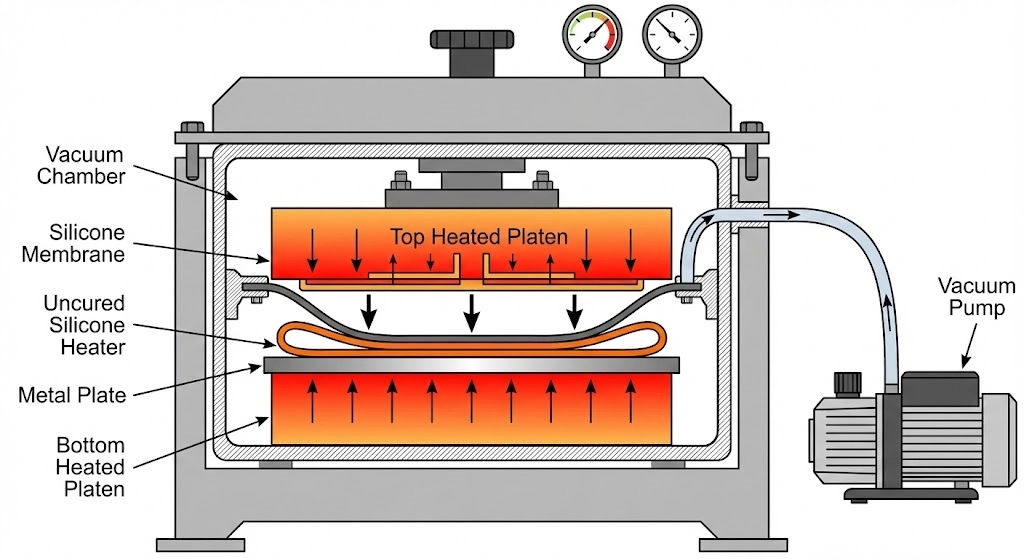
We position the uncured silicone rubber and resistance element on the part.
The assembly goes into a Vacuum Heat Press at high temperature and pressure.
The silicone cures onto the metal.
The Advantages
Zero Air Gaps: The vacuum removes all air.
Max Temperature: The bond handles the full 250°C limit of the silicone.
Longevity: It is impossible for the heater to peel off. It is now part of the machine.
Typical Applications
Medical Analysis Trays.
Heat Press Platens.
Aerospace Components.
4. Option C: RTV Silicone Adhesive – The Field Solution
What if you don’t have PSA, but can’t ship the part to the factory? You use Room Temperature Vulcanizing (RTV) silicone.
Field Installation Guide
Select a high-temp RTV silicone (e.g., GE RTV106 or similar Red High-Temp Gasket Maker).
Apply a thin, uniform film to the back of the heater. Warning: Too thick = Thermal Insulator.
Press the heater onto the part.
Clamp it. You must apply mechanical pressure (using clamps or weights) for 24 hours while the RTV cures.
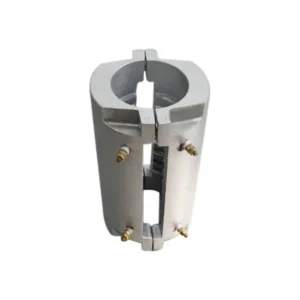
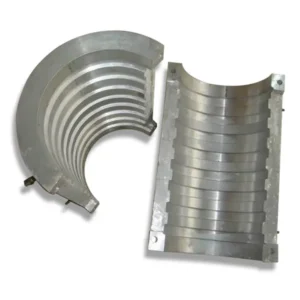
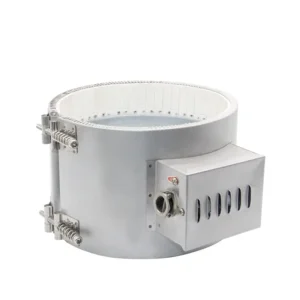
5. Option D: Mechanical Fasteners – For Removability
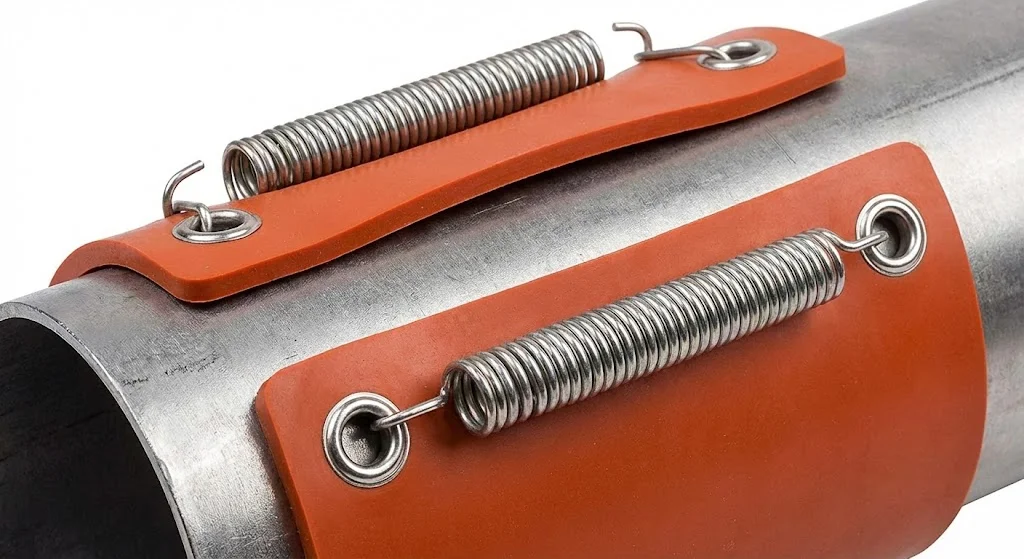
Spring attachments accommodate the thermal expansion of pipes and drums.
For maintenance applications (Pipes, Drums, Valves) where the heater must be removed to service the equipment.
Springs & Eyelets
We reinforce the edge of the silicone mat with fiberglass and install metal grommets.
Why Springs? As a metal drum heats up, it expands. A rigid strap would snap or become loose. A spring maintains constant tension, keeping the heater in contact with the expanding surface.
Velcro (Hook & Loop)
Pros: Easiest to install.
Cons: Low temperature limit (typically <100°C for the Velcro itself). Poor contact pressure leads to lower thermal efficiency.
Comparison Matrix: Selecting Your Mount
Method
Install Difficulty
Bond Strength
Max Temp
Thermal Efficiency
Typical Use
PSA (3M)
⭐ (Easy)
Medium
150°C
High
3D Printers, General Industry
Vulcanization
⭐⭐⭐⭐⭐ (Factory Only)
Permanent
250°C
Maximum
Medical, Semiconductor
RTV Glue
⭐⭐⭐ (Messy)
High
200°C+
High
Repair, Irregular Shapes
Springs
⭐⭐ (Medium)
Variable
250°C
Low
Drums, Pipes, Valves
Frequently Asked Questions (FAQ)
My PSA backing failed. Can I re-attach it with Super Glue (Cyanoacrylate)?
ABSOLUTELY NOT. Super glue is brittle and not heat-resistant. It will crack instantly upon thermal expansion, creating an air gap and causing heater burnout. If PSA fails, clean the surface thoroughly and re-attach using High-Temp RTV Silicone.
Does vulcanization require me to ship my parts to China?
Yes, or we can source the metal parts for you. Many of our OEM clients send us the CAD drawings for their aluminum plates. We CNC machine the metal locally, vulcanize the heater, and ship the complete “Thermal Assembly” to you. This saves shipping costs and simplifies your supply chain.
My aluminum surface is Anodized. Will the adhesive stick?
Yes. Anodized aluminum is actually an excellent substrate for 3M PSA. The anodization process creates a clean, hard, and slightly porous oxide layer that bonds very well. Just ensure it is free of oils or fingerprints.
Don’t let a bad bond ruin a good design. Ensure your installation is as robust as your engineering.